If you’ve watched any wild camping video’s on YouTube you will be familiar with the Hilleberg Soulo, as alongside the Tarptent Scarp 1 it is one of the two most popular solo tent designs which feature. I’ve now used mine through two winter seasons.

Why did I buy one?
I returned to backpacking in 2017 after a 25 year gap and was drawn back by Alastair Humphreys descriptions of micro-adventures and by wanting to explore the Forest of Bowland after seeing an enticing track wiggle up into the hills. After a couple of years of weekend walking / wild camping adventures from Spring to Autumn, I decided I wanted to expand my rediscovered hobby into winter and to be able to camp on fell tops in the coldest or wildest of weathers.
Space (4/5)
There is a good area of excellent headroom in the tent thanks to it’s semi-geodesic design, I am 5’ 11” and am very comfortable. The length of the inner leaves space for your next days clothes at your feet and the steep side walls means that when you are sleeping there is plenty of space above your head even at the end of the tent. In strong winds my preference is to sleep with my head at the leeward end where the slope of my pitch allows this. The pentagonal footprint leaves good space next to the middle of your sleeping pad for a book, map, torch, water etc. There is a single pocket for watch, phone, matches and the like. The porch is just about big enough for all my wet gear and cooking stuff. For me the ideal porch space is 0.7 m2 per person and the Soulo offers 0.6 m2. The steep walls of the fly do mean you can make the most of this space and the other features of the tent make this sacrifice acceptable.
I would not want to spend more than a week in a tent of this size, but I doubt I’d ever go on a solo walk of longer than four days in conditions that justified such a design. For base camp use, I would choose something larger.
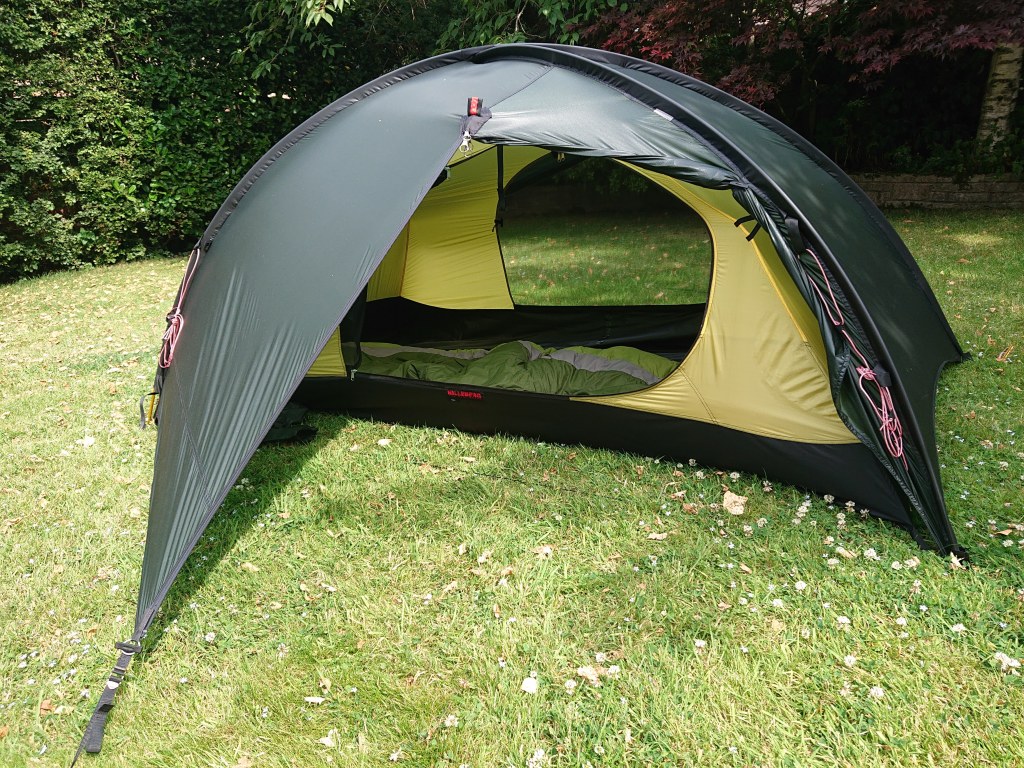
Ease of pitching (4/5)
The Soulo is easy to pitch, but having three poles means it it takes 10-15 min to get set up, 15-20 min if it’s really blowing a hoolie. The poles are attached to the fly with clips with a short sleeve at the base of each pole. This design aids pitching in strong winds as you can firmly fix the base then gradually pitch the fly higher up each pole in turn. One very big plus is that it goes up ‘all in one’ which means once the fly is pitched, the job is complete. Having a fly first, or ‘all in one’ pitch design seems essential (to me) if you are planning to use your tent in extreme weather. In today’s market place the large majority of tents pitch inner first which is not want you want in a tent for the 4th season.
One thing I learnt on my first ‘foul conditions’ trial was to double peg the first two peg placements – for more info click here. You don’t actually need extra pegs for this, as once you have the geminal points pinned down and a couple of guys in place you have spread the load over 8 pegs and can remove the ‘doubles’ for use on the remaining guy lines. If you are planning on pitching at above Force 6 having a few extra pegs is wise anyway.
Another thing I learned was to mark up the windward end pegging points with some bright cord so it’s easy to know which end is which in wild pitching conditions. The porch has a fixed and an opening section and in bad weather you’ll want the fixed section at the windward end.

All the guys out and double pegged – High winds on the Howgills
The Soulo comes with 12 guy lines, six sets of two. However it is only supplied with enough pegs to mean that by design you peg each pair of guys to one peg. The weak point of a guy is usually the peg placement and unless you are willing to carry the extra pegs you might as well remove some of the lower guy lines in my view. I have removed four (to save weight and to simplify) as for single night use in even poor conditions I can only see the point of having double guys at the windward end. I carry extra pegs so I have one per guy.
Weather worthiness (5/5)
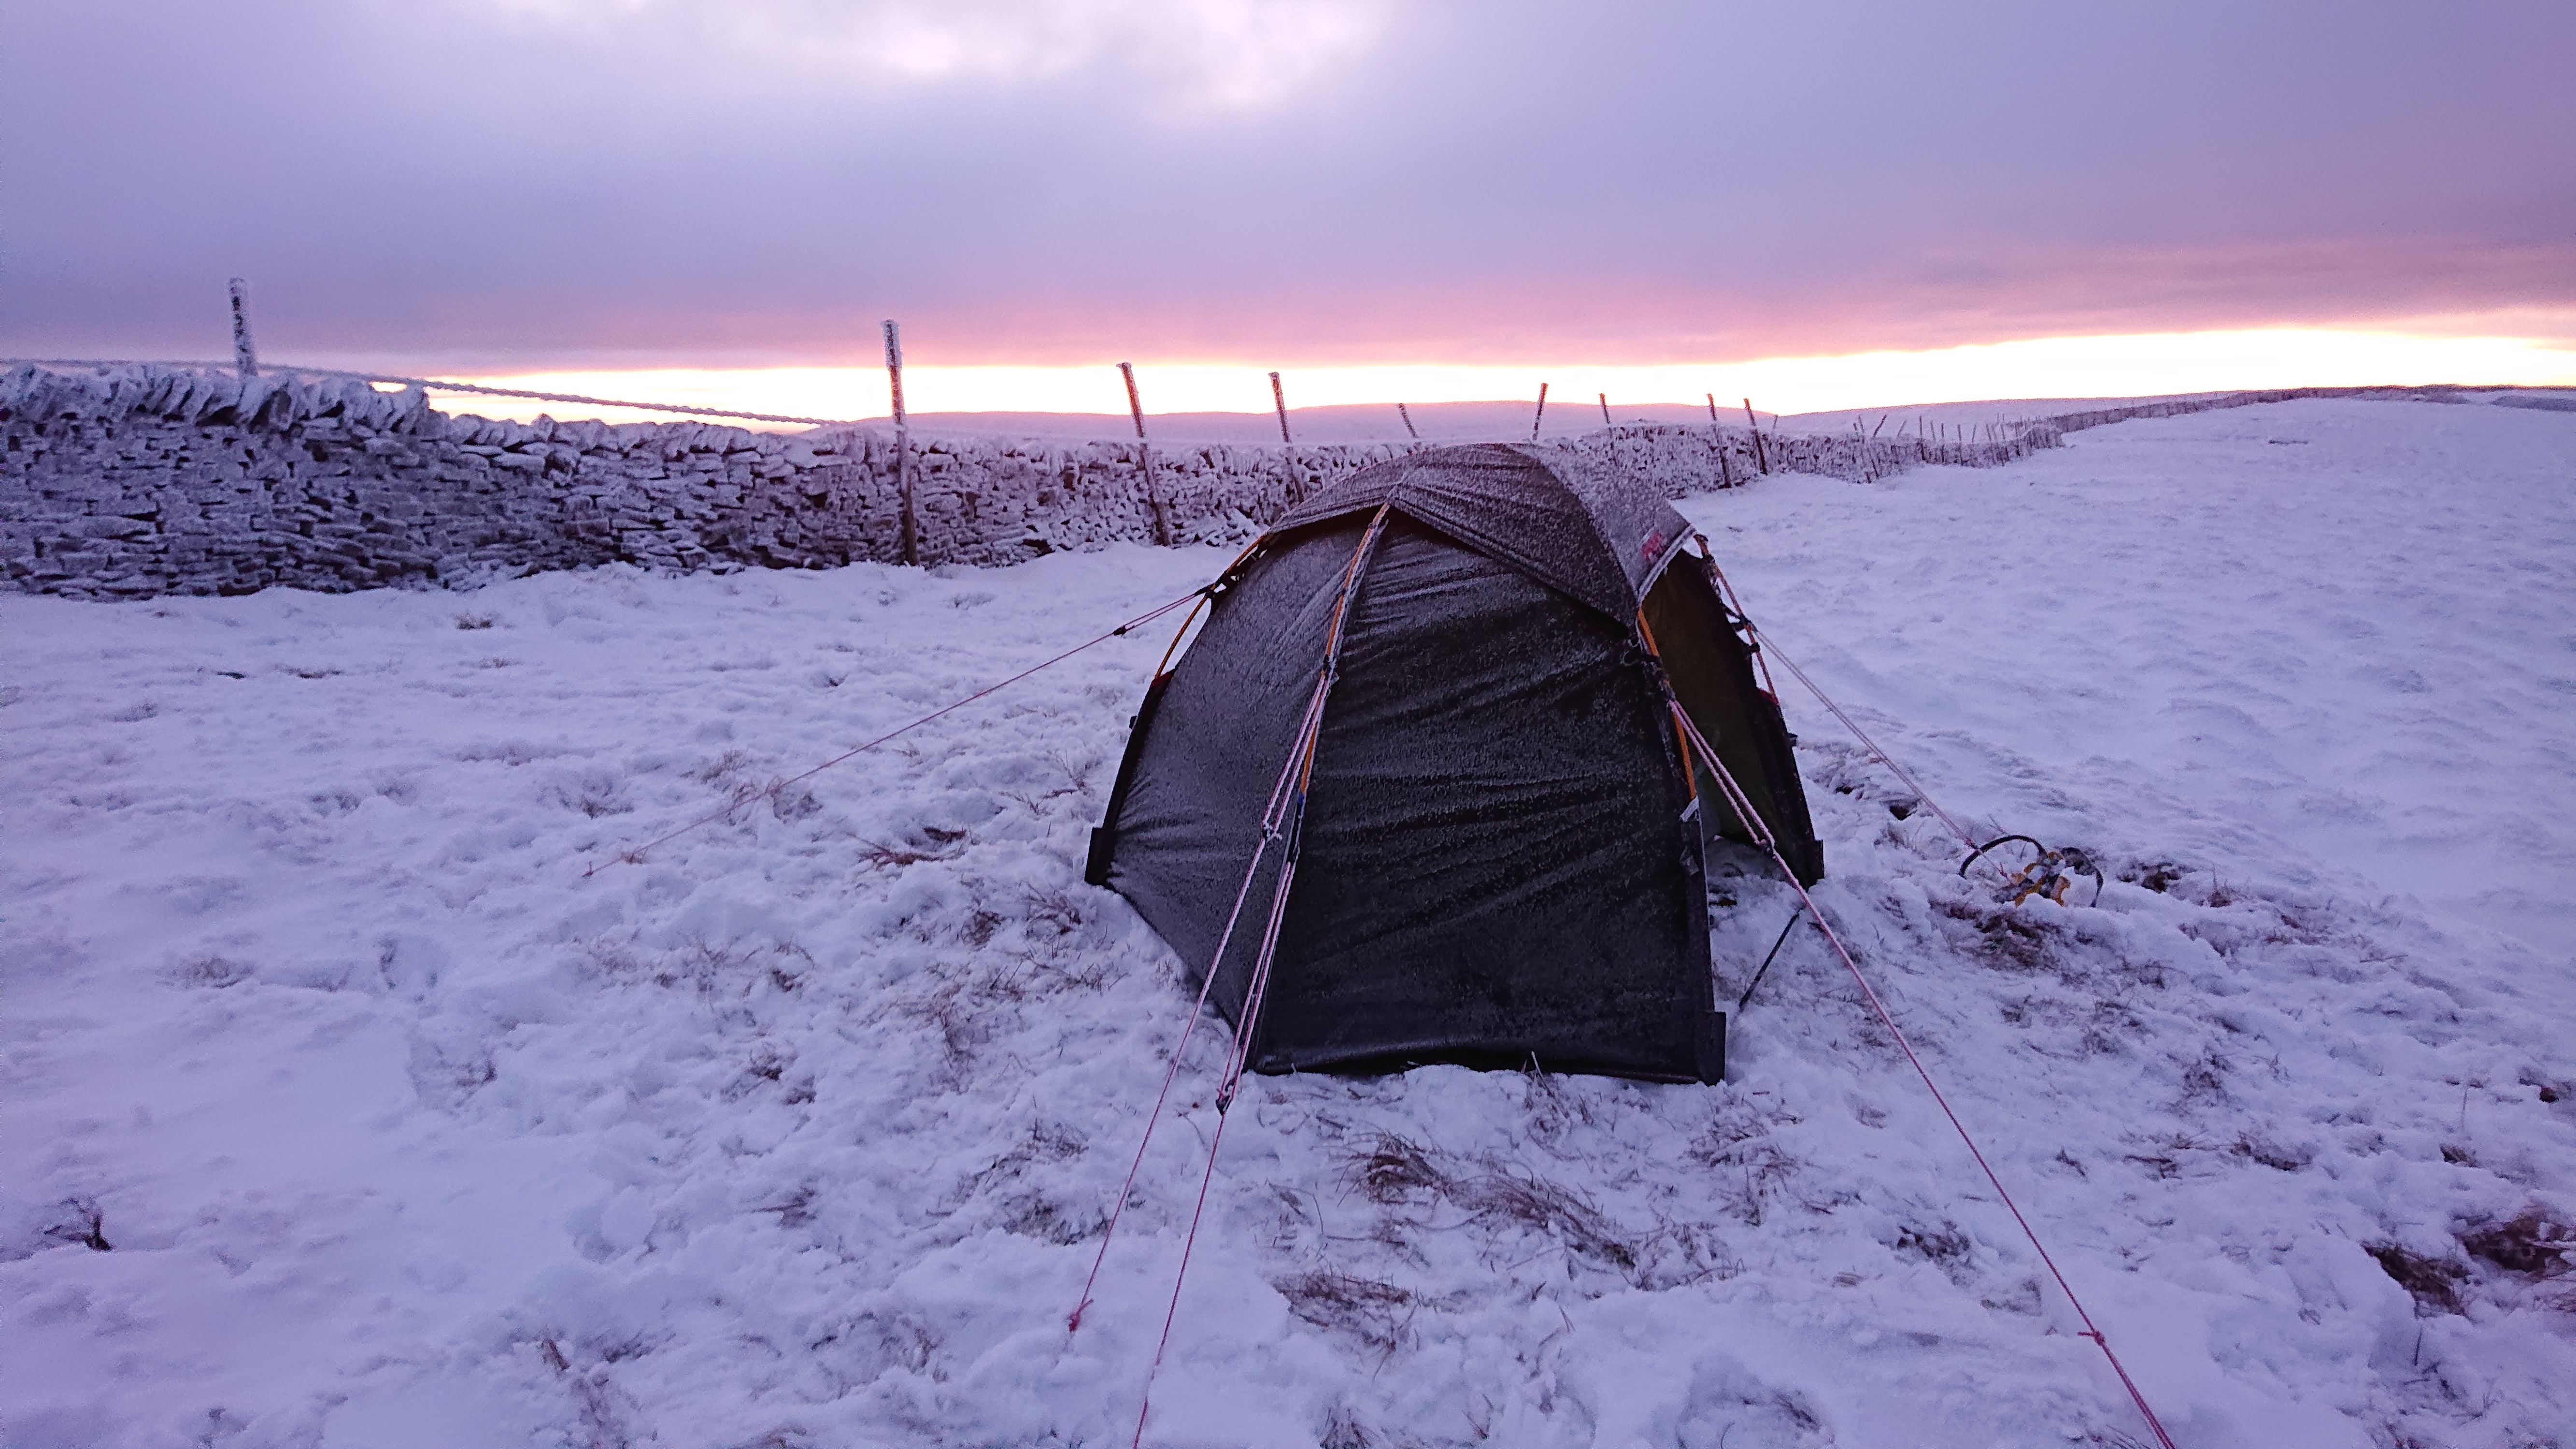
Trusty Soulo after a cold night
This is where the Soulo is in a league of it’s own. So far I’ve used use it in very strong winds, heavy rain, driving horizontal rain, low temperatures (down to -6 C) and on very poor ground. I’ve spent a relaxed, warm, dry and secure night in each case. The only ‘4th season’ condition I’ve not tested it in is heavy snow fall. The covered high level vent keeps out spindrift and the heaviest of rain, so long as that rain isn’t horizontal. The semi-geodesic design should be easily strong enough for a high snow load. When I did have horizontal rain and had to close the vent, the wind coming under the (down to the ground) fly was enough to prevent any condensation.
Ventilation / Condensation (3 / 5)
This is the one weakness of the Soulo. In colder weather, unless you have a moderate wind ( > ca. 15 mph) wind you will suffer moderate levels of condensation on the fly. In sub zero conditions I’ve had small amounts of ice on the inner tent too. For me this has never been more than an inconvenience and extra weight to carry the next day. However, for some users condensation is a real issue, to the point of their sleeping bag getting wet. Perhaps I respire less water overnight than average, or maybe I have less of an issue because I never pitch my Soulo in a sheltered position on a cold night? One of the inner doors can be zipped open to reveal a mesh panel to aid ventilation of the inner, I always have this partly open.
If you want a tent which will keep out wind blown snow you will have to have a flysheet that comes down to the ground, in the past snow skirts were also used. This is almost certain to lead to condensation in a (low volume) solo tent. I know I see more condensation in the Soulo than my two man four season tent under comparable conditions, presumably because of the lower volume per person and thus ease of reaching the dew point. Also, two man four season tents tend to have two doors and thus a cross venting option.
My conclusions are these:
- The Soulo is a tent for the 4th season and is not ideal to use all year round in the UK.
- I get a 5-6 C temperature differential in the Soulo in winter, higher than the 2 C differential of my Enan – this is welcome when it is below zero outside.
- You are best not to pitch the Soulo in a sheltered position, make use of the breeze to reduce condensation.
If you only feel comfortable pitching in a sheltered position and don’t want heavy condensation then a 3 season tent is probably the best choice for you. It will vent better, be lighter and usually cost less to buy. A good 3 season tent will cope with most UK conditions all year round. Only if you are fool enough to want to pitch your tent on a fell top in a gale or somewhere with heavy snow fall then the Soulo would be something to seriously consider. These are the reasons I have one and I’m when I do use it I am delighted to have it.
Footprint (Score 5 / 5)
As a solo tent which is just the right size, the footprint is small and I’ve been able to pitch the tent small spaces. Given my renewed love of wild camping this is an excellent characteristic. Also, because it is free-standing you can pitch it well on ground which is far from ideal – say on top of heather, or even somewhere you cannot use all / any of your pegs. I once used a mountain bike as my tent anchor when I pitched on volcanic ash which would simply not hold a peg securely.

Weight vs. Robustness (Score 4/5)
The Soulo is unarguably robust. In terms of design, geodesic tents are the strongest, if you push down on the roof and feel it spring back you get a good sense of this. The materials are very strong and the construction excellent. I have the Red Label version – for an explanation of the colour system click here. A Black Label – even stronger – version is now also available. However, from my experience the only place I feel this would add value would be for group use / commercial / hire situations.
At 2.4 kg it cannot be considered a lightweight tent by today’s standards. I have carried it for 2-4 day walks, but would not want to carry it for a week. If the weather is simply cold (below -3 C is cold in my books) but not wild I’m better to carry a warmer sleep system and a three season tent as I did here. However if I am expecting strong winds for an elevated camp I am delighted to use the Soulo. It was ideal on my recent winter traverse of the Dales Highway with high elevation pitches on Ingleborough and the Howgills
Summary
If you want a totally reliable 4th season solo tent, and you are happy to own another tent for milder conditions, the Soulo should certainly be on your shortlist. For such a need I would always choose a geodesic / semi-geodesic / dome design – to understand why read this article. It’s not a good idea to choose a tent from it’s statistics alone, I’d always draw up a shortlist on paper then go and see these options pitched at a local stockist and have a good poke around. If I had the chance of a month’s trial ( If you are listening Terra Nova! ) with other models in place of my Soulo those I would seriously considered would be:
- Terra Nova Southern Cross 1 – total weight 1.7 kg (£600)
- Tarptent Scarpa 1 with the extra cross poles – total weight 1.9 kg (approx £620 inc. tax & duty)
I bought my first Hilleberg Tent in 2001 for a cycle tour of Iceland and was blown away by it’s quality, easy of pitching and well thought out design. They were rare in the UK back then. My original Hilleberg is still in great condition and used to this day, albeit infrequently because Mrs W is now rather less keen on camping. In the last 20 years I’ve tried models from a number of other European makers but when it came to choosing a tent for wild walking I returned again to Hilleberg. Whilst they are expensive (Soulo RRP is £895 at time of writing), if you plan to use your tent both frequently and to it’s limits of it’s capability I would contend that they offer excellent value. The Soulo is not a tent for the occasional weekend on a campsite, but if you need true 4th season performance, my experience is that it does not let you down.
I’d summarise my comments by saying that the Soulo is a tent for niche applications, but within that niche it excels.

After my ‘foul conditions’ test night – Storm Bella (Force 8 gusts) on top of a local fell.
If you have found this review helpful, you might also find value in reading my other tent reviews:


 It was fresh and clear on the top, but I needed to press on. Today’s route towards Ribblehead / the foot of Park Fell was new to me. Had it not been frozen solid this would have been a very boggy path indeed. Should I walk this route again I will take the slightly longer route via Pennine Way path which has been ‘improved’. The light was now starting to fail and I needed to decide if it was wise to ascent Park Fell and look for a camping pitch in the dark. The alternative being to stop early and extend Day Two. I knew that the end of Day Two traced the Pennine Bridleway so should be easy to follow (in the dark) so I found a suitably hidden pitch next to Brown Gill Beck. I was too close to farm buildings really, but it was rough ground rather than pasture. Pitching 20 minutes after sunset and leaving at dawn meant no one came to move me on. The view of Park Fell, where I should have been camping, was beautiful in the moonlight.


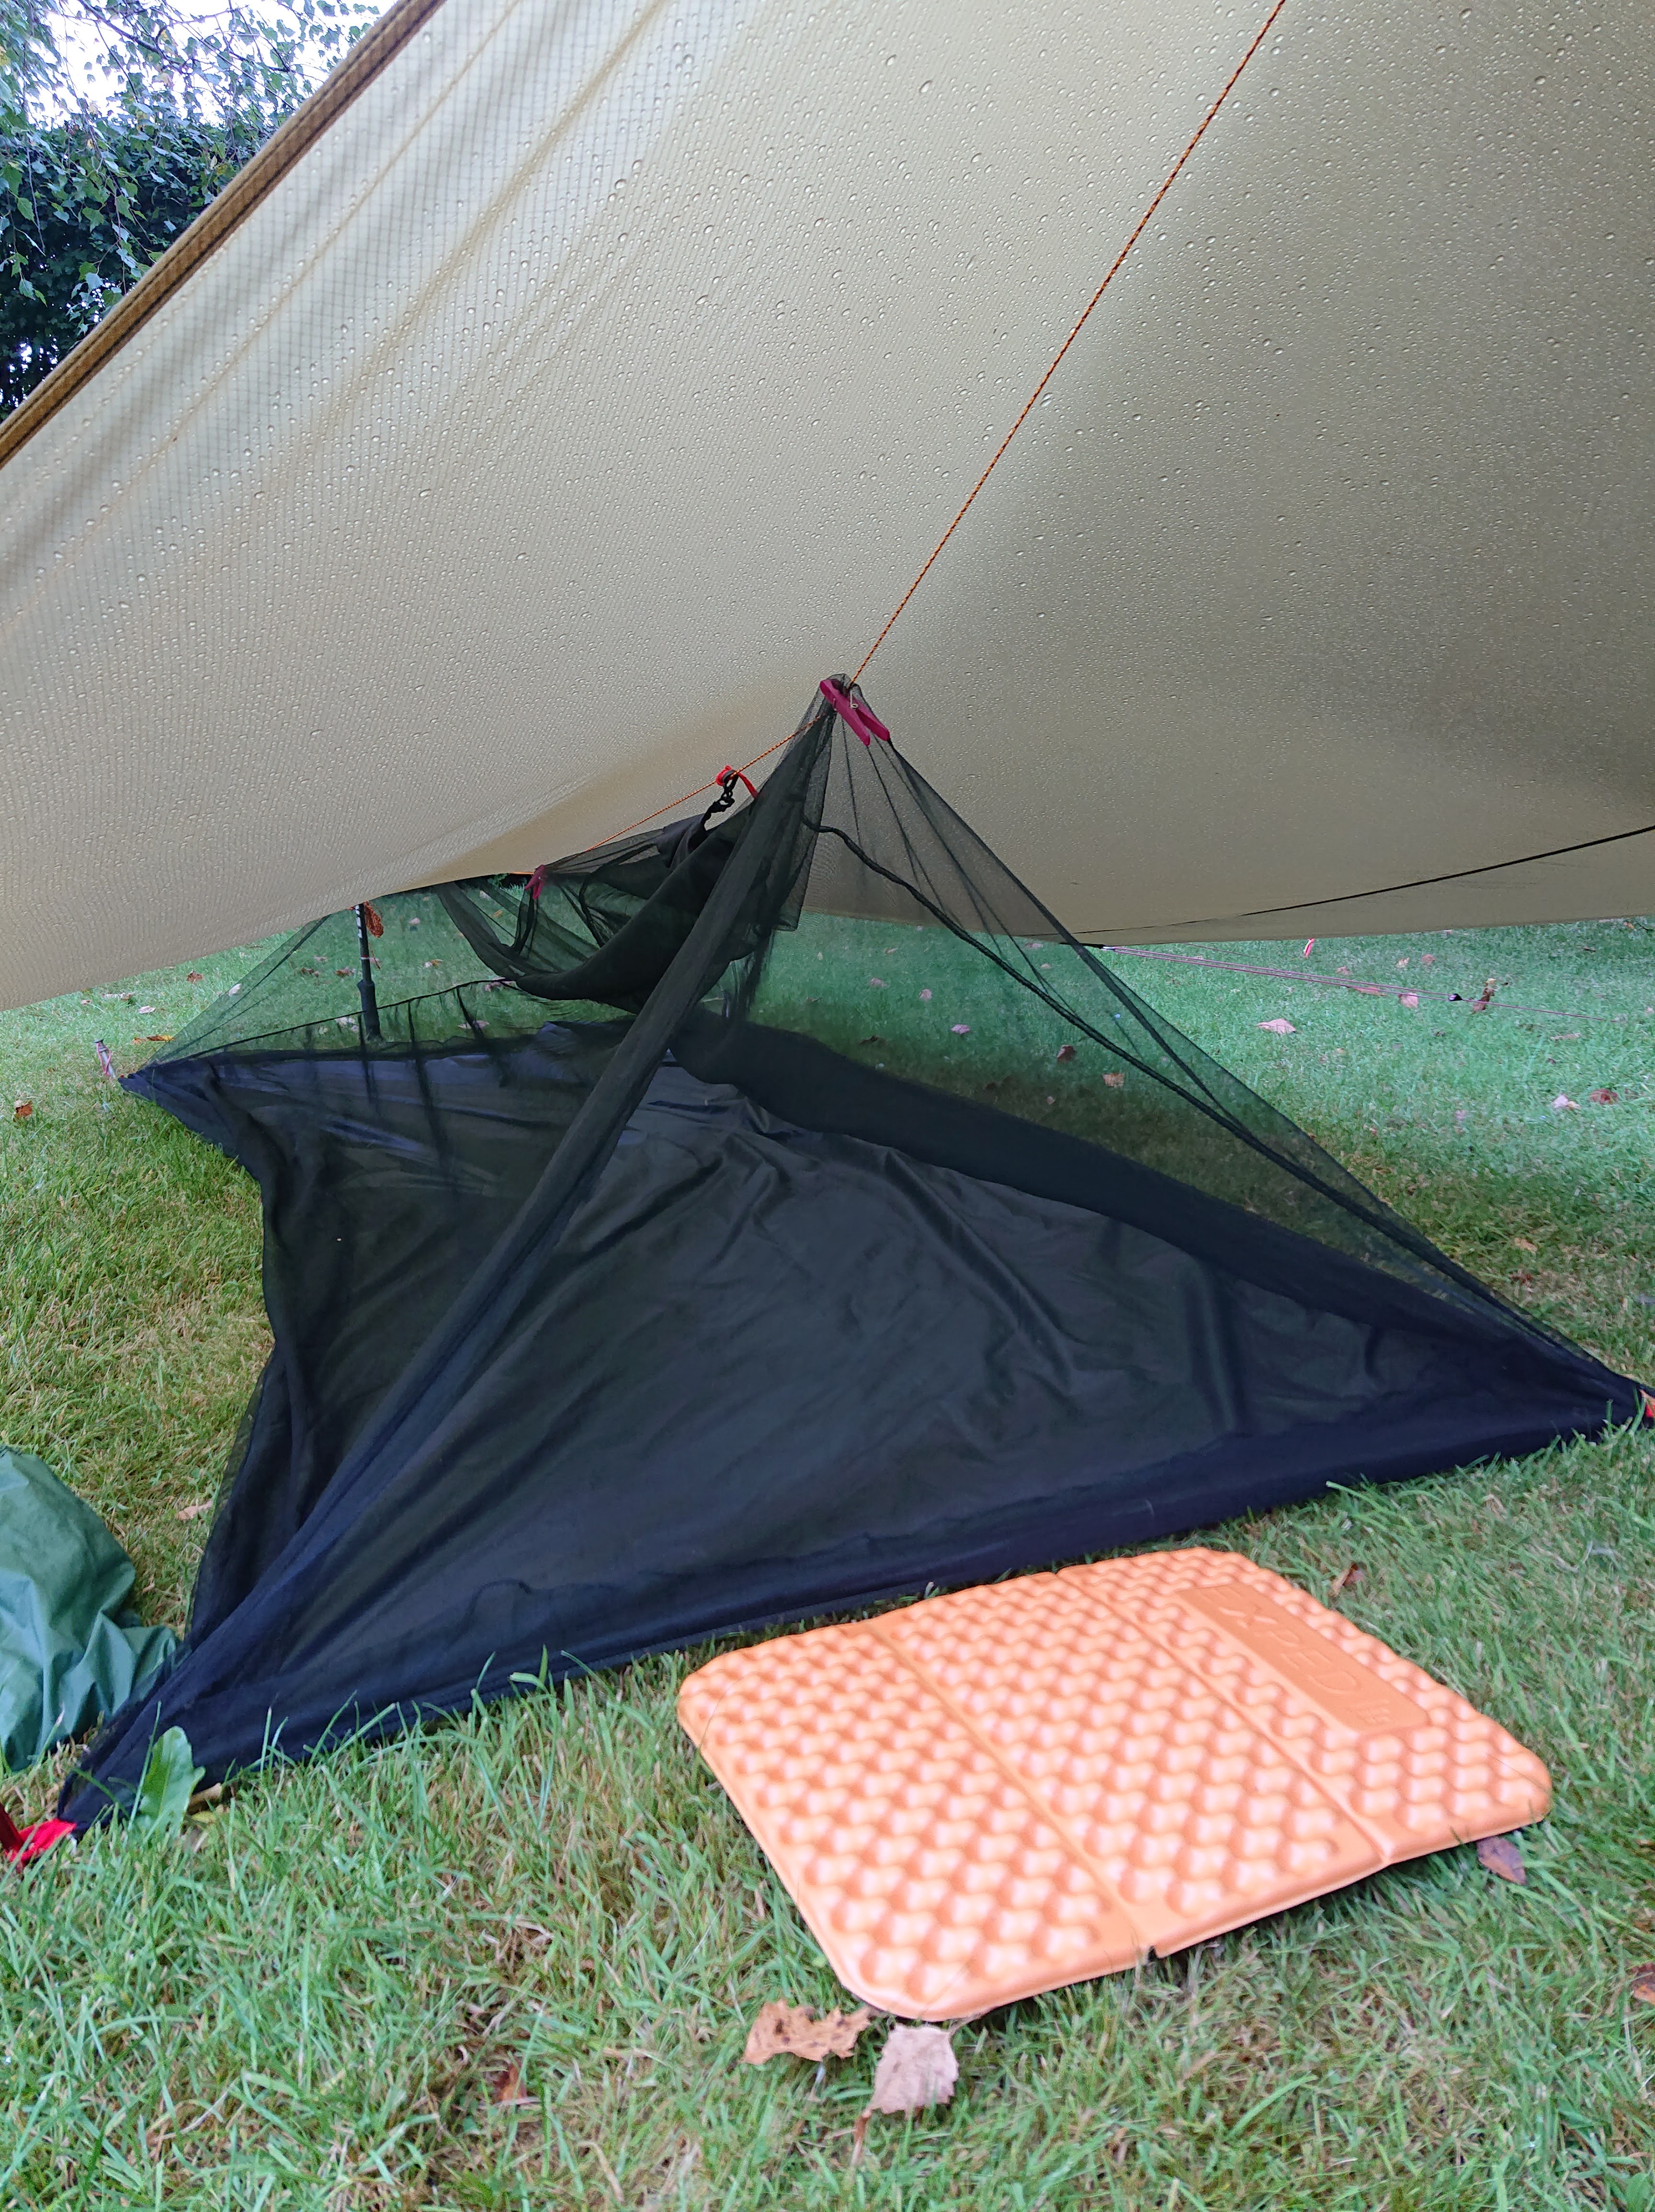
 A game changing feature of the Lofoten is being able to use the door as a tarp which gives you covered space to cook under, so long as the wind is not too strong (≤ 20-25 mph).


 condensation over a range of conditions and an improvement on